


A well-executed paint job can transform your vehicle’s appearance and enhance your body kit’s overall aesthetic. Whether you’re looking to create a sleek, factory-finish look or something more custom and vibrant, understanding the essential steps of painting and finishing is crucial. This guide will walk you through the process, ensuring that you achieve a professional-looking finish that stands the test of time.
Preparation is key to achieving any successful automotive finish. Before even picking up a spray can or brush, it is essential to properly clean, sand, and prime the surfaces of your body kit. Attention to detail during this stage will not only improve the adhesion of the paint but also contribute significantly to the longevity of the finish. In this article, we will cover the best practices for preparing your body kit for painting and finishing, so you can be confident in the quality of your work.
Finally, once the paint is applied, the finishing process cannot be overlooked. Properly curing the paint, as well as applying protective coatings and clear finishes, can make a world of difference in the durability and appearance of your body kit. With the right techniques and materials at hand, you can elevate the final job to a level that rivals professional results. Let’s dive into the details and get you started on creating a stunning finish for your vehicle!
Choosing the Right Paint for Your Body Kit
When it comes to painting your body kit, selecting the right paint is crucial for achieving a professional-looking job. The type of paint you choose can significantly affect the final appearance and durability of the finish.
Start by considering the compatibility of the paint with the material of your body kit. Most kits are made from fiberglass, polyurethane, or ABS plastic. It’s important to pick a paint that adheres well to these materials without causing damage over time.
Acrylic paints are popular for their ease of application and quick drying times. They provide a glossy finish, but may require additional clear coat layers for enhanced protection. On the other hand, urethane paints offer excellent durability and resistance to scratches and fading, making them a great choice for automotive applications.
Additionally, pay attention to the environment in which you will be working. Enamel paints provide a robust finish but often emit strong fumes during application, requiring proper ventilation. If you’re working in a confined space, consider using water-based paints that are less harmful and easier to clean up.
Lastly, color matching is vital to ensure your body kit blends seamlessly with the rest of your vehicle. Obtain paint samples and test them before committing to a full spray. This will help to avoid any mismatches and ensure a cohesive look for your car.
Preparing Your Surface for a Flawless Finish
To achieve an exceptional finish on your body kit, proper surface preparation is essential. Start by cleaning the surface thoroughly to remove any dirt, grease, or residues. Use a mild detergent and warm water, followed by a rinse and drying with a lint-free cloth. This ensures that the surface is free of contaminants that could affect adhesion.
Next, inspect the surface for any imperfections such as scratches, dents, or old paint. These irregularities should be addressed before applying any paint. For scratches, use sandpaper to smooth out the edges and create an even surface. For deeper flaws, consider using a body filler to level the surface. Once filled, sand the area again until it is perfectly smooth.
After addressing imperfections, it’s crucial to sand the entire area you plan to paint. Use fine-grit sandpaper (around 400-grit) to ensure that the surface is smooth and promotes paint adhesion. Sanding also helps to create a rough texture that allows the job to bond effectively. Be sure to wipe down the area afterward with a tack cloth to remove any dust generated from sanding.
Finally, applying a primer is key to achieving a flawless finish. Choose a primer suitable for your material, and apply it evenly across the surface. Allow it to dry completely before lightly sanding again to ensure an ideal base for your paint. Following these steps will set the stage for a perfect job, contributing to a durable and stunning finish.
Techniques for Applying Clear Coat and Finishing Touches
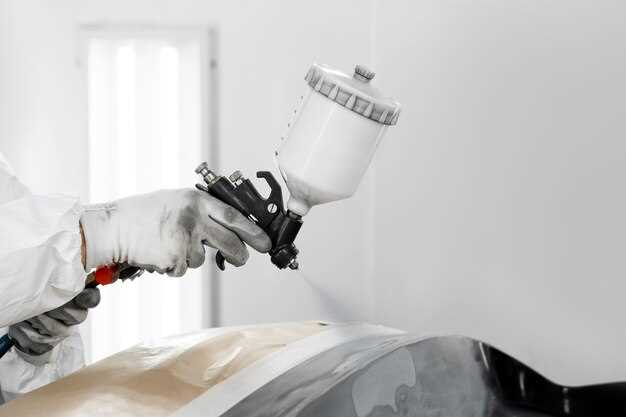
Applying a clear coat is essential for achieving a professional finish on your body kit. Start by selecting a high-quality clear coat that matches your paint type. Ensure the workspace is clean and well-ventilated, as dust and debris can ruin the job.
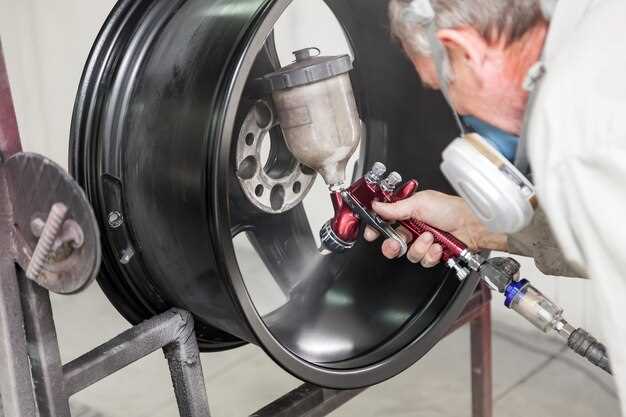
Before application, thoroughly mix the clear coat according to the manufacturer’s instructions. Using a spray gun or aerosol can, apply a light initial coat to avoid runs and drips. Hold the spray tool approximately 6-12 inches from the surface for an even application. Maintain a consistent speed and overlap each pass by about 50% for uniform coverage.
After the first coat dries, inspect the surface for imperfections. If necessary, lightly sand with fine-grit sandpaper to smooth out any rough spots. Clean the area again to remove dust before applying additional coats. Typically, two to three coats of clear coat are recommended to achieve a deep, glossy finish.
Once the final coat is applied, allow sufficient drying time as per the manufacturer’s guidelines. Avoid touching the surface until fully cured to prevent smudging. To enhance the finish, consider polishing the clear coat with a suitable compound after it has cured completely. This step can significantly improve the overall appearance and shine, providing that professional look you desire.
Finally, inspect your work carefully. Look for imperfections or uneven areas and address them immediately. A flawless clear coat is the key to a stunning finish on your body kit, ensuring it not only looks great but also protects your investment from the elements.

